Category: how to’s

TRU Creative Art Prompt #1 and New FB Group

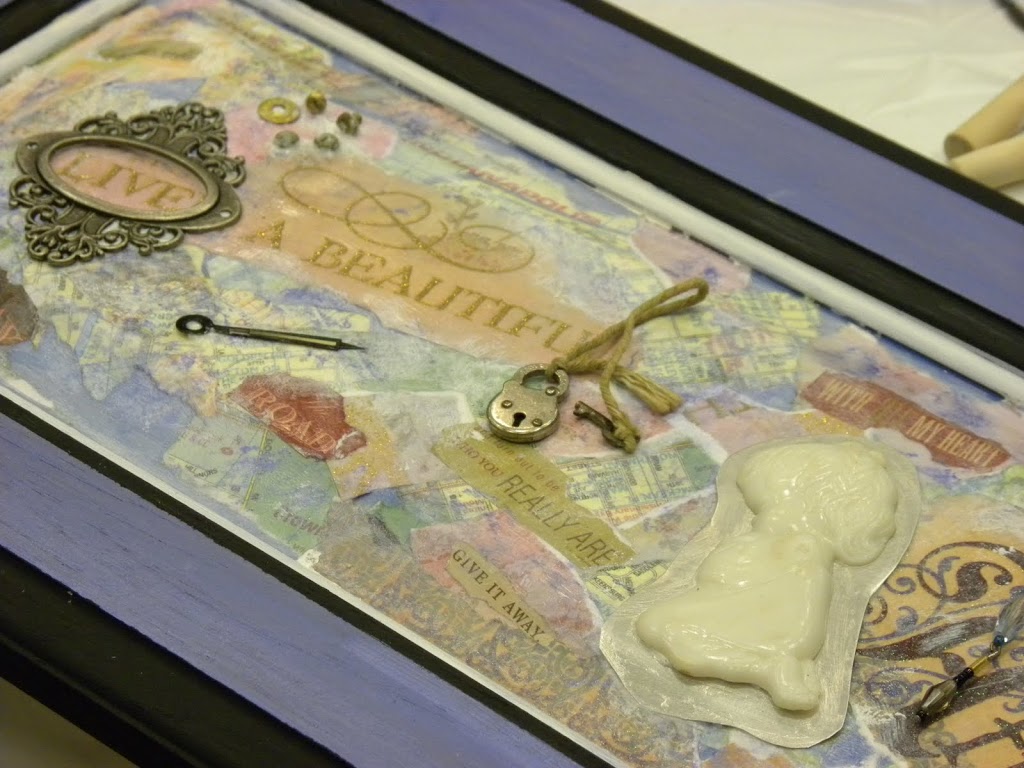
I’m super excited to finally share my first TRU Creative Art Prompt with you! Totally FREE as my gift to you.

Blessed Collage

Creative Prompt Blessed PDF

**Download may take up to 5 minutes on some computers, this is a large file of deliciousness. Worth the wait!

Funny,  it seems like I’m using the words SUPER EXCITED and FIRST a lot around here lately.  Anytime you have a first in your life, for the most part your excited…no? Sometimes that ‘first’ is scary, other times it’s invigorating. For me, it’s honestly both! Scary in away, as I have to face the fear of rejection that I struggle with. Invigorating, because I do get to face that fear and move right past it. Eat that FEAR!

God has been generous with me and giving me lot’s of first to be excited about.

Another thing I say around here a lot is, “I’m glad you’re with me on this journey, we’re in this together!” When you see those words from me, do you believe them? Do you believe that I am invested in this journey? Do you trust that?

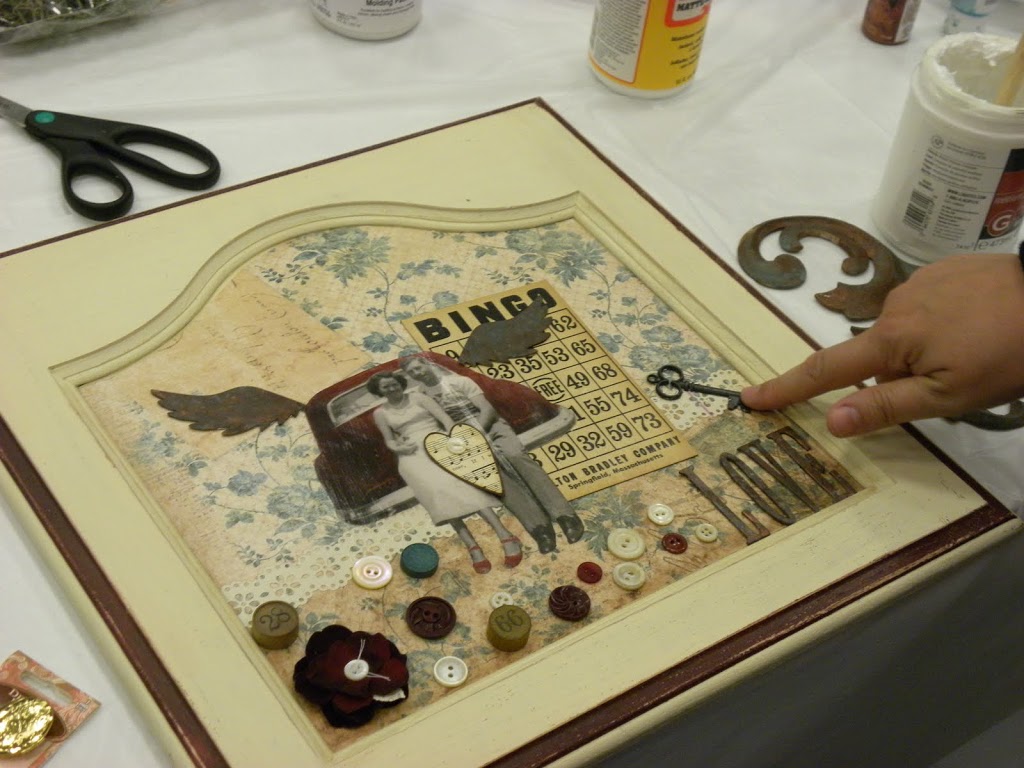
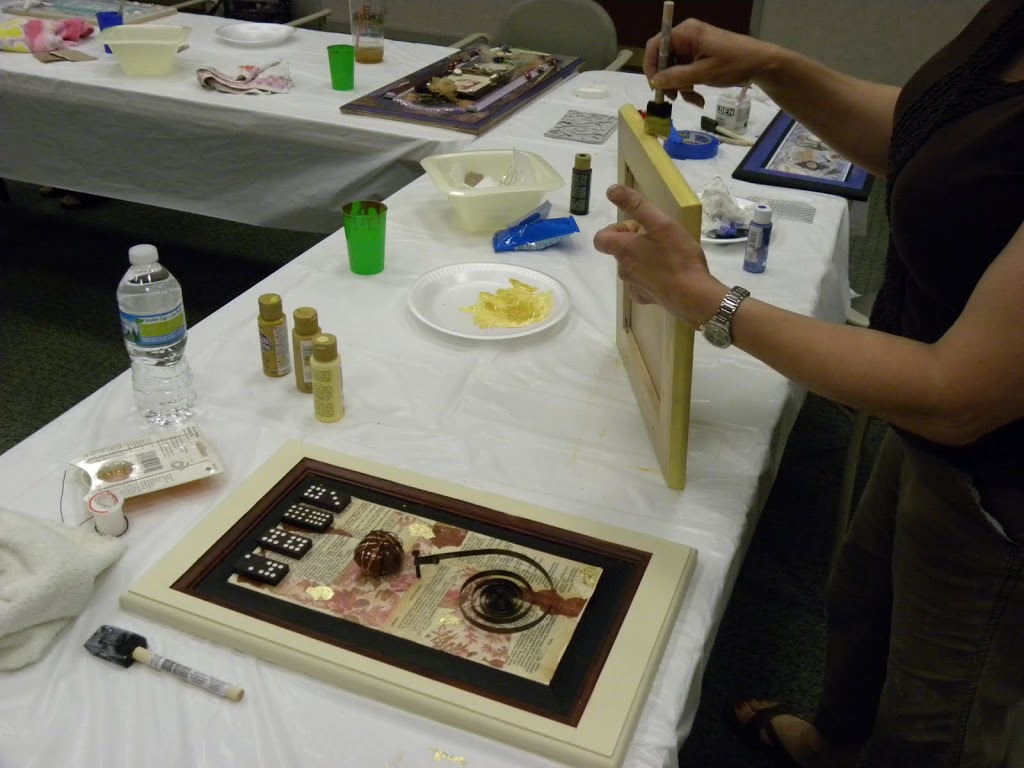
“A relationship without TRUST is like a car without gas, you can stay in it all you want but it won’t go anywhere.” ~Anonymous. This quote sums up my mission statement beautifully. When I say we are on a journey, we’re in this together, I mean a journey of life…a journey to Heaven. No man is an island, we are ALL connected and we are all called to love. But being called to LOVE can be hard work, even Jesus needed help carrying His cross. I need help on my journey too. Don’t we all need support? This takes mutual trust. I am learning to trust you by sharing my whole self in my blog posts, sharing the artwork that I create and offering FREE gifts of encouragement that you are NOT rejecting. I see your support and attendance on my Facebook Page  and workshops. I recently created a close Facebook Group to share in the work you may do through the TRU Creative Prompts I send you. I want to see what you are making… to share in your life.

I want to challenge you, I want to show you how committed I am to you on this journey of life and faith. I want you to unfriend me on Facebook and unsubscribe to my Newsletter if you are not interested in growing along side this community of creative women. This is not a numbers game to me, and I have no desire to clutter up your inbox with information/ encouragement you are not reading or interested in. I promise, my feeling won’t be hurt. You see, I would rather have a an interactive, supportive community of 100 women than 1000 women who are on my list just because. No one wants to be a ‘just because’.

I said it and I mean it, we are in this together.

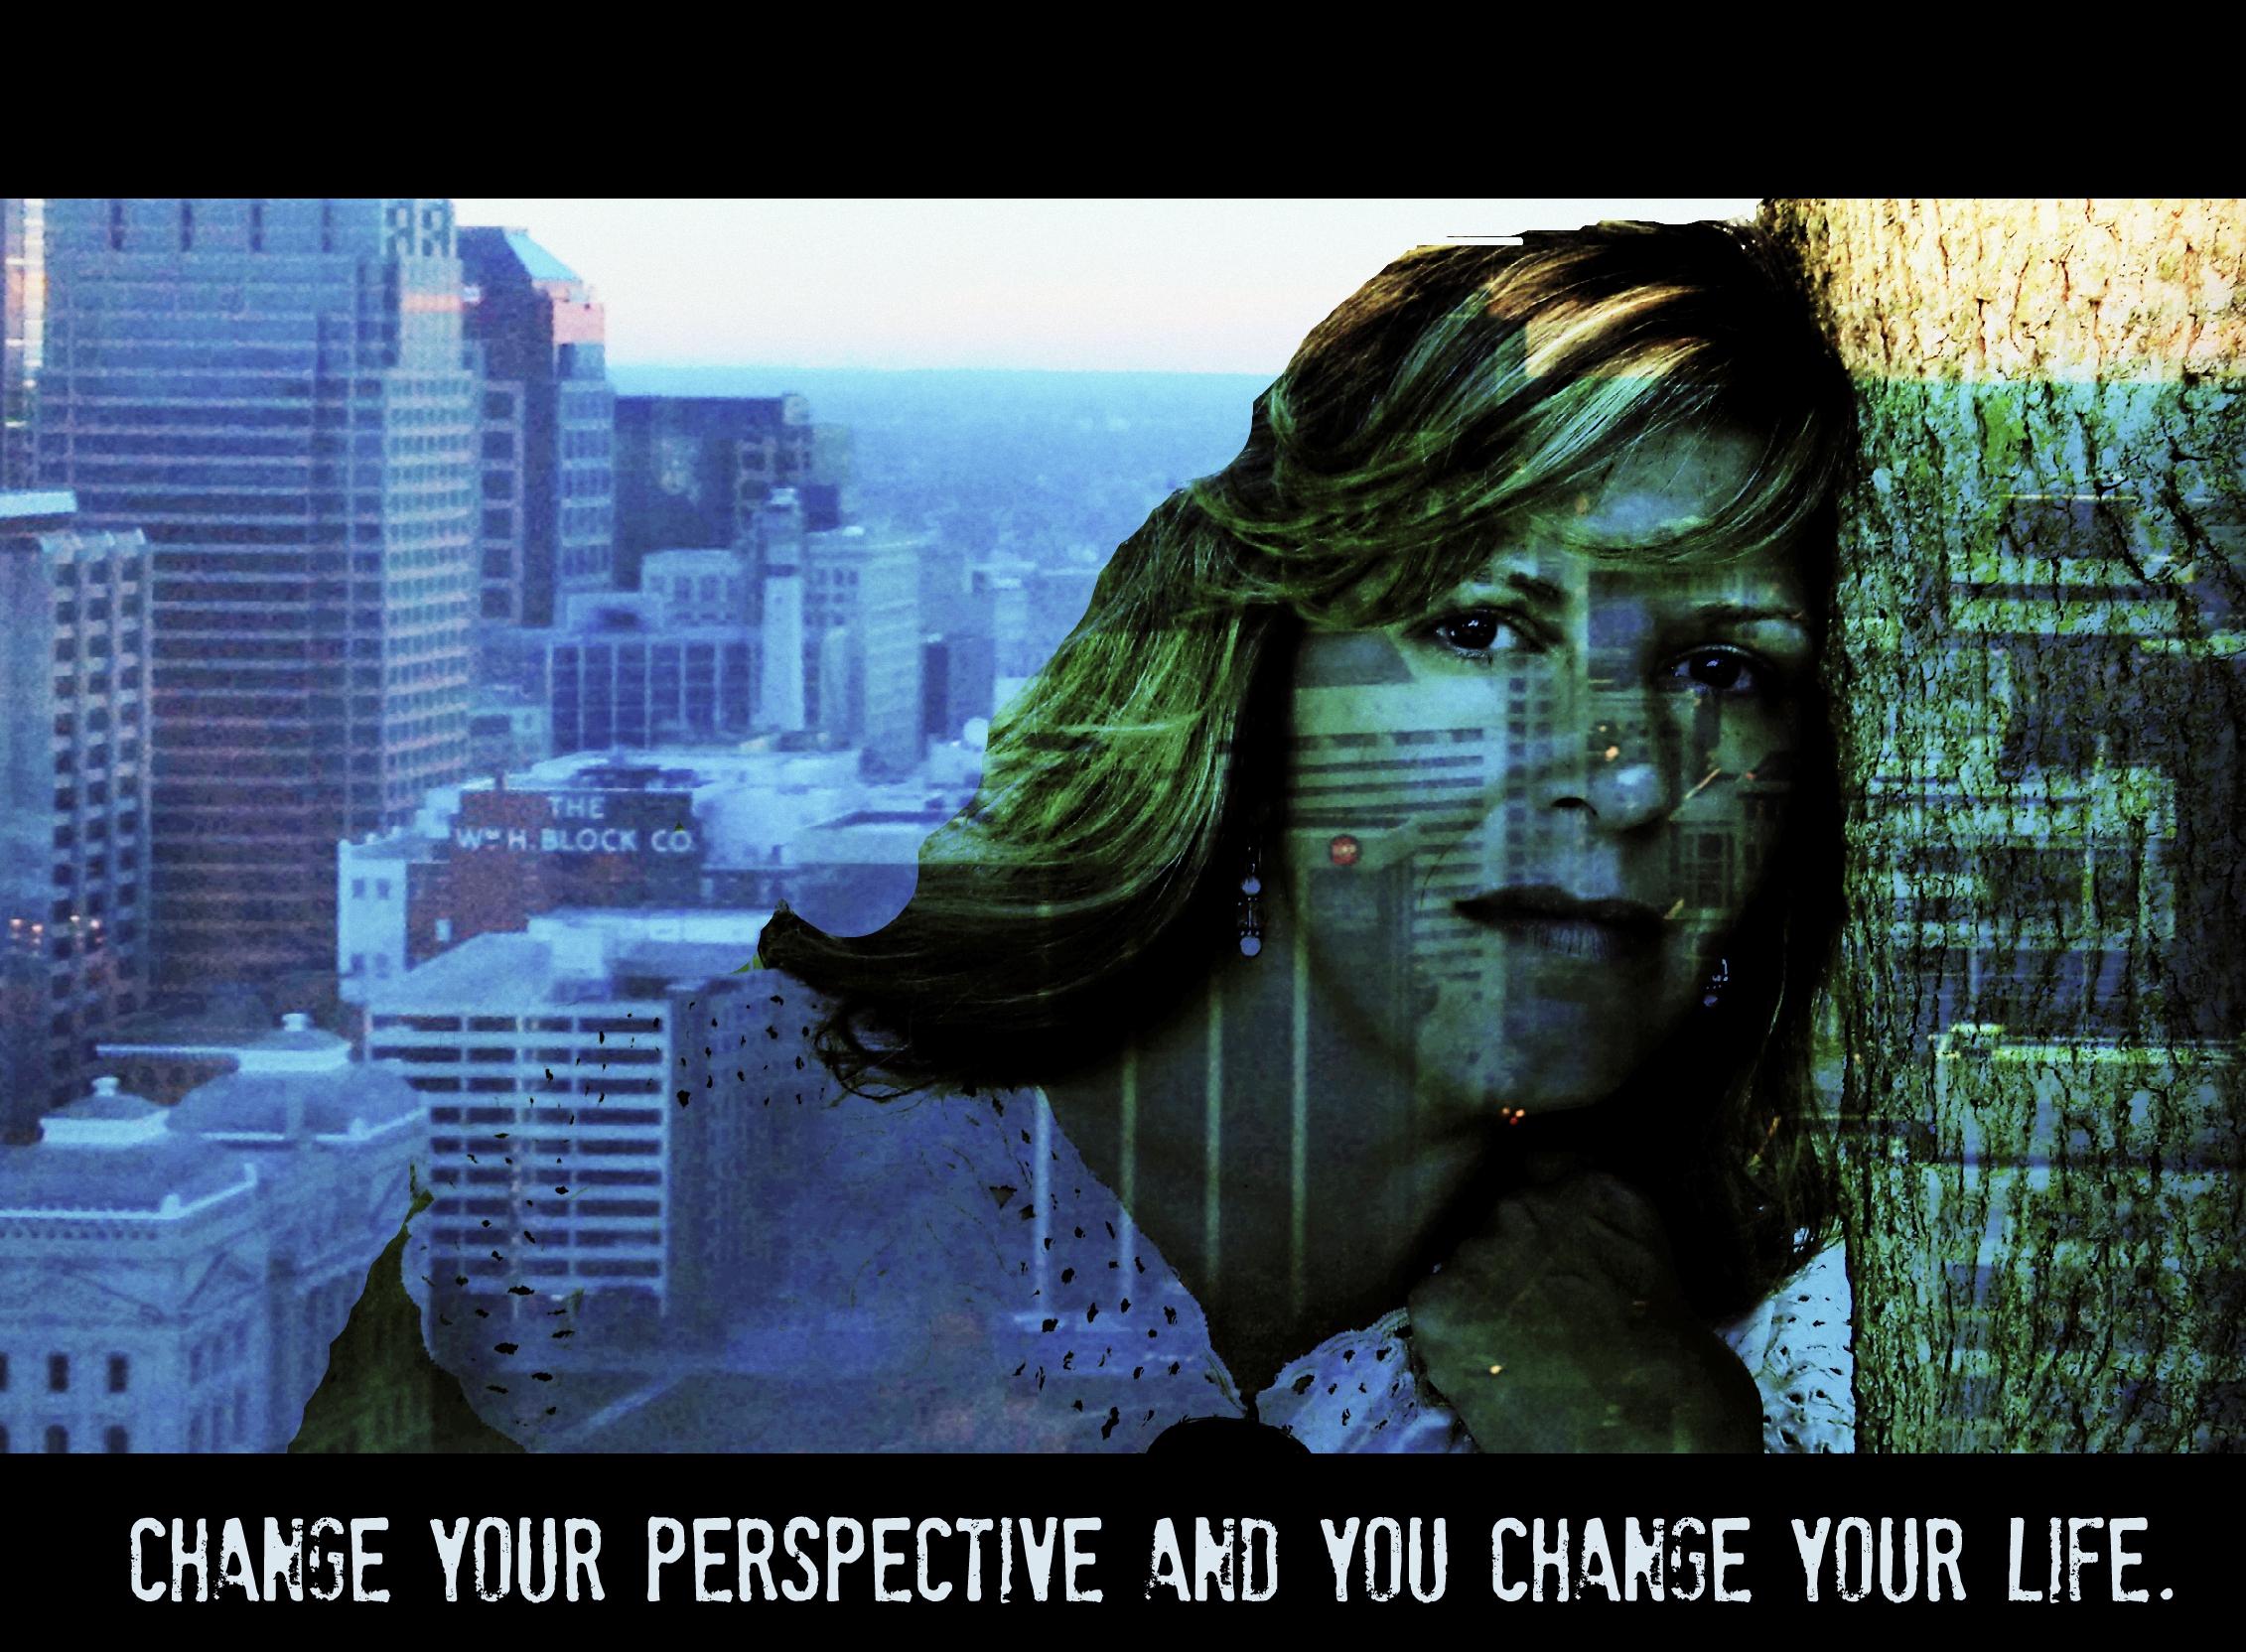
Enjoy the TRU Creative Prompt!


It Begins with a Thought

2 photo double exposure

Have you ever thought about how powerful our thoughts and words are? I hate to admit it, but most of the time I cruise around on auto pilot not really considering that I have control of the pilot. I react when the planes going down and wait for the breathing masks to dispense.  This is something that I have given a great deal of time working on this past last year…about how I entertain worse case scenarios or dwell on feelings of hurt, rejection, and insecurity. The problem with entertaining negativity, taking a peek into our plane wreak scenarios,  is that it invites negativity to reside in our head. Once that guy shows up, he is like a house guest. Fun times for a few days, wallowing in your hurt and pride, partying it up,  but then what?  It gets old and that house guest won’t leave. He likes the attention and you can’t leave your guest hungry.  Did you intent to invite that guy over?? NO! So what now??

We all struggle with negative thoughts, we are human after all. I want to dedicate the next 5 posts on sharing what living a life of intention this past year has looked like for me. We can and should have control over our thoughts and who shows up as our auto pilot. I know what is working for me and maybe it can  it will work for you too.


Repuposed ART

My very favorite thing about art and being an artist is the transformation of things. It is in the creating!
It can be the clump of clay that gets made into a beautiful piece of pottery, the blank canvas that is transformed into a classic masterpiece or a million pieces or tiny glass blown in to a colorful vase.

It truly is the gift of art that inspires growth and change in so many ways.

I love taking something that may be discarded and giving it new life. I get this from my mom, also an artist, who used to make me hunt with her for flattened pop cans so she could paint different faces or animals on them. She would get inspired by the shape the old, rusty, flattened tin can would make and transform them into little pieces of art. It was very cool and a very 70’s kind of thing to do.

For a few years now i have been painting on cabinet door fronts.


 I really love taking the door and turning it into art! I also enjoy working on the versatile hard wood surface. I can paint acrylics directly on the door front, like what you see above, or i can use mixed media layers. I can even pound nails into the piece if i want. Sometimes you just wanna hit something:)

Recently I held a workshop on repurposed assemblage art working on a cabinet door front. The idea was to take personal items from home and assemble them onto the door using mixed media techniques. It was  awesome to see old cabinet doors turn into these amazing pieces of art…

 This artist created a tribute to Grandma and Grandpa
 This artist gave healing to a broken heart
 this piece was made for a first grandbaby
 Commemorating Grandma, this artist used her Grandmother’s earring collection!
 This artist used lot’s of color and texture, awesome
 Who wouldn’t want this in a beach themed room or vacation home?
An old broken doll from childhhood gives this artist her inspiration


All the doors were unique and inspiring as these women opened themselves up to the world of assemblage and repurposed art for the very first time. Two sweet artist had never even done mixed media, they totally blew us all away with thei work!

As women i think we all enjoy making things new and fresh.  It’s just in us to make things pretty! We redecorate, cook and bake, sew, we even spend time making ourselves pretty.

What do you REPURPOSE? I would love to know!


Texture technique for your mixed media artwork

It’s BLACK FRIDAY!!

And there is no way in BEEP that I’ll be hitting the mall today! Not my thing, but if it is your thing then happy shopping. I know there are some amazing deals out there.

My day will be spent making soup and preparing for my final artshow of the year. This show has been so well organized and it will be great to see all the local artist that I have really enjoyed getting to know as we do a lot of these shows together. BUT…I really need the Jan/Feb break! My business seems a little (ok a lot) disorganized these days and the dreaded tax season is right around the corner. Staying organized is not my thing either!! That’s why I usually wait until the last week to prepare for shows (and taxes) that have been scheduled for months. I wonder what would happen if I ever got organized? Would the world implode?
Anyway, for all my creative friends who are in their studios today, I have a fun project for you. I may not be organized but I am thrifty and here is a creative way to get some cool texture on your mixed media artwork.
Here’s what you’ll need…

Gel medium

mini paint roller

empty toilet paper roll

a cut out strip of texture

*this technique can also be used with a large roller and empty paper towel roll for larger art pieces.

STEP 1

Secure some paper or non-slip drawer liver around your paint roller. You’ll need to do this so that the toilet paper tube will fit securely. Glue the cut out texture strip around the empty toilet paper roll, textured part facing out. Pull the t.p. roll over the paint roller like this…

STEP 2

Roll your textured tube through paint, just as you would if you were to paint a wall.

STEP 3

Roll it out onto your canvas or surface.

Check out these other items I used to create texture.

Here is the result painted on surface.

BURLAP

CIRCLE PUNCH OUT THINGY FROM THE HARDWARE STORE

YARN

I hope you’ll enjoy this fun and thrifty way to create some texture in your artwork. It’s not near the mess and it really is fun to just roll on. Bam! your done.

I was so excited with myself after coming up with this a few months ago that I was convinced i should have it patent . I recently went in the art supply store and much to my dismay I found a similar item marked at $12 for two tubes and a brush. Man, another dream gone:)

If I could only get organized!


make a BLOG button

GRAB MY BUTTON
___________________________________
Have you been wondering how to make a blog button? It was only a few weeks ago that I even knew what a blog button was, let alone how to make one!! Blog buttons are cute little avatars that others use on their blog to invite people to your blog. Yeah, i love this! If done selectively on ones blog it can really offer great support to your fellow bloggers. Having said that, personally I find it distracting to see 99 blog buttons and advertisements on someone’s blog side bar. But that’s just me 🙂
SOOO, how to make one?? I did a tiny bit if research but I’m convinced I found the easiest way to make one because I figured it out! I am so NOT tech savvy and if I could do it anyone can.
This is the link for the tutorial i followed. It took me 30 min. to make but probably will take you 15 min.
Just take it step by step and soon you’ll have a cute lil’ grab my button avatar thingy.
Have a blessed weekend! Don’t forget to check out my guest on DARE TO LOVE Monday.

Wood Blocks

Invest n joy three 4×4″ wood blocks

I’m always looking for new things to paint on. Repurposed art is so cool to me because it gives new life to old, worn out objects.

Recently I have been working with wood. I am really enjoying this! I love the dimension and texture of the wood and I can be rough with it. Sometimes I just like to hit things with a hammer!

I treat the wood like any other surface. First sand the edges, next gesso it , then add my collage elements and paint, finish with a gel medium for protection, then I add the hanging hardware to the back. EASY!

One tip… if wood is damp at all, allow it to dry out for 48 hrs.

Think of all the possibilities!


Privacy Settings
We use cookies to enhance your experience while using our website. If you are using our Services via a browser you can restrict, block or remove cookies through your web browser settings. We also use content and scripts from third parties that may use tracking technologies. You can selectively provide your consent below to allow such third party embeds. For complete information about the cookies we use, data we collect and how we process them, please check our Privacy Policy
Youtube
Consent to display content from - Youtube
Vimeo
Consent to display content from - Vimeo
Google Maps
Consent to display content from - Google